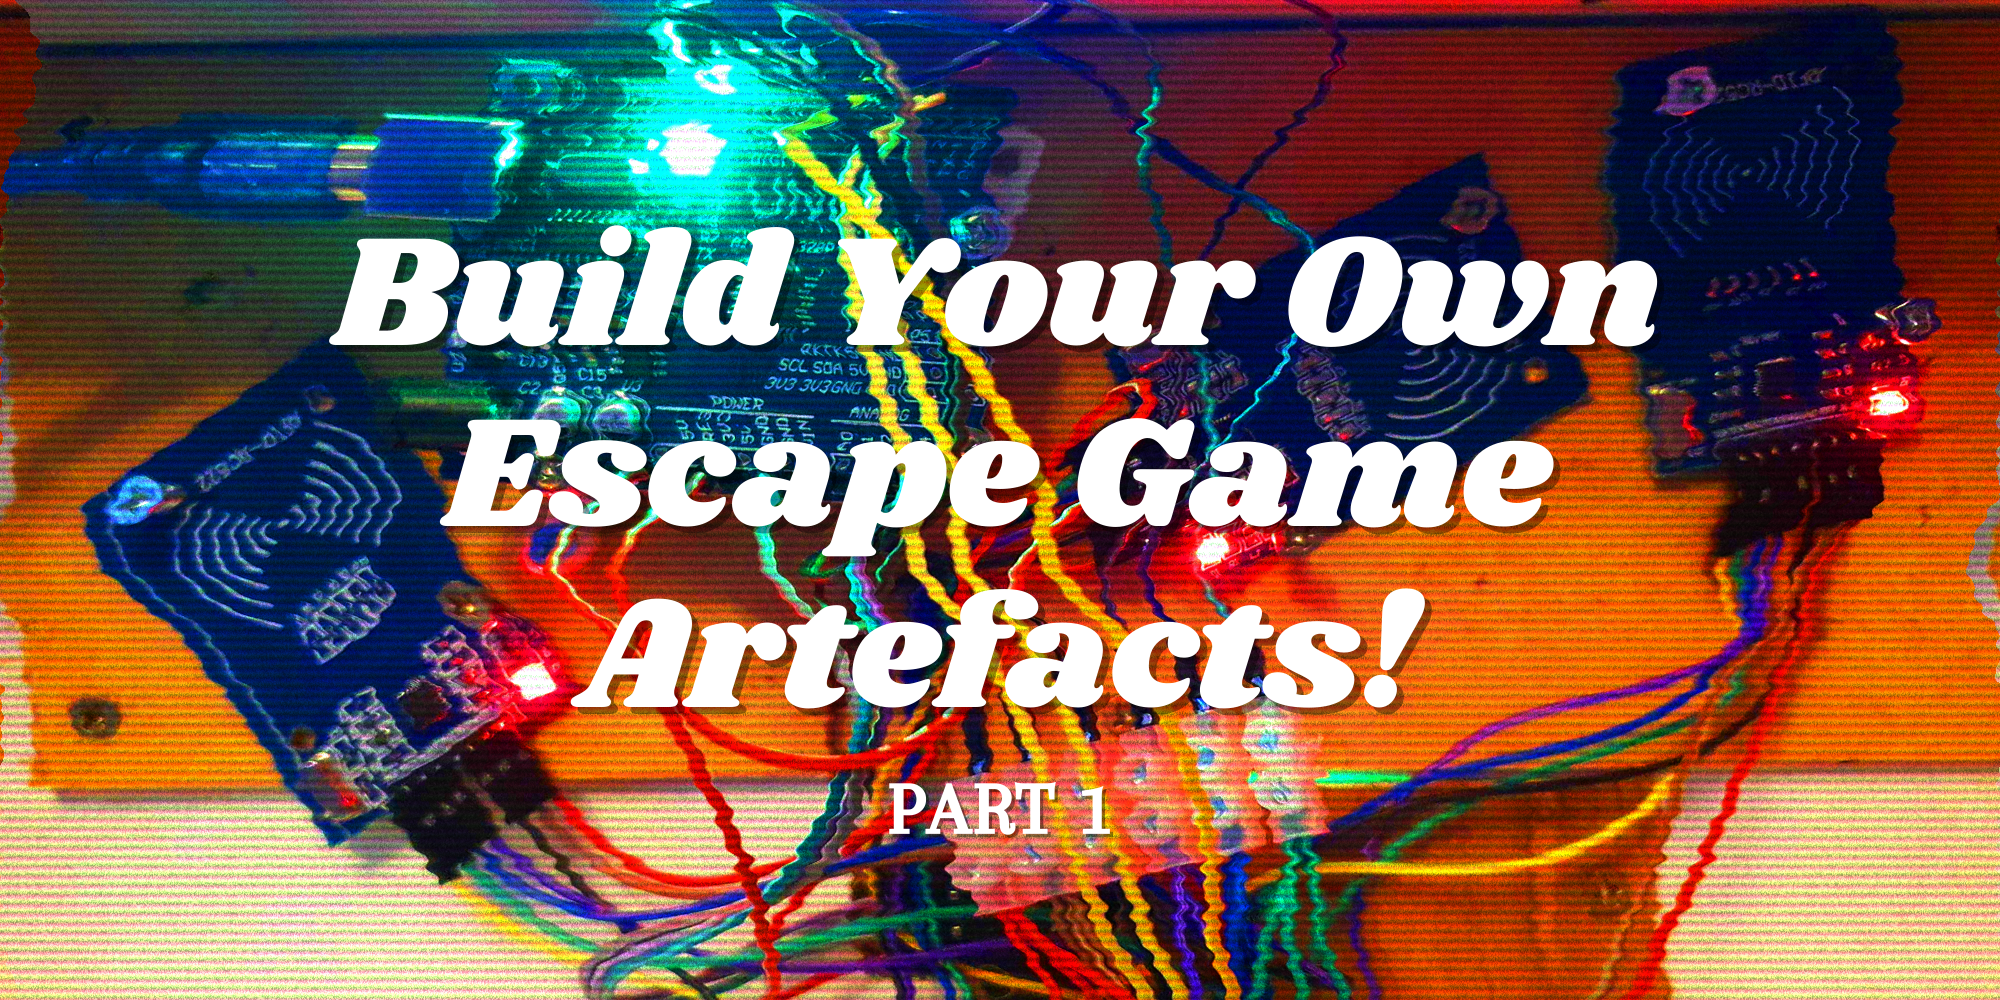
Have you ever wanted to build your own escape game artefacts using low voltage electronics? Look no further! In the upcoming months, look out for a short series of articles on how you can approach creating small, but effective artefacts for your own game designs.
Introduction
Why am I known as RussBuilds? Because I like to build things; particularly electronics, that lead to creating an escape game artefact; an object that can be held or handled, to solve and is usually hiding something like a key or a secret message to progress further.
I made 4 games over the course of the lockdown period, each involving multiple escape game artefacts, and Mairi right here at The Escape Roomer, reviewed 3 of them. (ENDGAME, AIRLOCK and CITIZEN if you are interested).
I discontinued these games in June 2021, however I would love to pass on some skills and insight into anyone who is considering making their own physical escape games, but doesn’t know where to start.

Part 1: Fundamental Equipment
What do I mean by fundamental equipment?
Later on in the series, I’ll be showing you how to build an escape game artefact. Fundamental equipment is the absolute basics you need for all artefact building; without these components you won’t get very far!
So without further a-do, let’s begin.
Microcontroller
A microcontroller is the brain of any artefact. It receives power and transmits signals to components, telling them to perform an action eg: unlock an electronic lock, show a message to the player etc. There are many microcontrollers out there, but the one I shall reference in this series, is the Arduino Uno.

Why this one? It’s the most popular one in the world, has tons of technical support for it and most importantly, is an open-source design. This means that the design of the Arduino Uno can be replicated by anyone. The Arduino Uno retails at around £20 per unit and this can get pricey, if you want to build multiple artefacts.
However! There are plenty of open-source copies out there that are up to a fifth of the price, making a project like this, much more accessible.

Also don’t forget to buy an Arduino USB connector, sometimes they are included but always check; you need one to connect it to a computer!
Power Adapter
You need a power adapter to power the microcontroller. The Arduino Uno outputs a maximum of 5 volts (V) to anything connected to it that requires power eg: an electronic lock or an LCD display. I personally use, power adapters that are rated between 5V and 9V and have an ampere (A) rating between 500mA and 1A. Combining these two figures (V x A) creates power, also known as Watts (W). If the power is too low, the microcontroller won’t be able power output components. If the power is too high however, you risk overheating/hot-to-touch components and very possibly; even frying the electronics inside…or worse causing an injury to yourself or others.
I do stress, that my usage of power adapters is merely what I personally use. I strongly suggest that you do your own research on what power adapter(s) you should use. Checking the Arduino Forums, may be a good start of information.
Laptop & IDE
For Arduino microcontrollers, you will need a laptop (or desktop computer) to connect and tell what you want it to do. The one I use for these projects, is a 10 year-old Samsung with 4GB RAM and an Intel dual core i5 processor. In other words, not fancy, in the slightest. If you have an old laptop lying around and you can power it up, give it a go, you may have given it a lease of new life!
Secondly, you will need to download the Arduino IDE (Integrated Development Environment) – this will be your workspace where you will tell the microcontroller what you want it to do, using C++ coding language. (Before you start panicking, yes there will be an entry in this series on introductory coding).

The Arduino IDE has regular updates and is supported on PC, iOS and Linux systems.
Dupont Connectors
Dupont connectors, connect the microcontroller to any outputs. The great thing about dupont connectors? They are cheap and easy to use. There are 3 types of dupont connectors that you will need;
- Male to Male
- Female to Female
- Male to Female

Depending on what is connected to the microcontroller, it is best to have all 3 types handy, for all eventualities. Get assorted colours too eg: some red, some black etc; it’ll be easier to troubleshoot hardware errors later.
Connector Blocks
Connector blocks are plastic or rubber covered and are ideal for either extending or joining several dupont connectors together. If you are using radio frequency tags for example, connector blocks are vital, as radio frequency modules have multiple inputs that do different things. Connector blocks are usually bought in rows of 12 and can be easily cut down if you only need a few at a time.
You’ll also need a small philips or flat blade screwdriver to adjust the tightness of the blocks when the connectors are placed in.

End Of Part 1
Those are your fundamentals that you need before you can start creating your escape game artefacts. In part 2 we will look at the Arduino Uno in detail, alongside the IDE and some common coding syntax, you will use for a countdown timer artefact.
Read Part 2 Here
Thanks for reading!


[…] part 1, I spoke about the fundamental equipment required to create your own escape game artefacts. Part 2 […]
[…] A laptop or desktop computer A download of the Arduino IDE A power adapter for the Arduino Uno (see part 1 for guidance) 4x male to female dupont cables (1x red, 1x black, 1x yellow, 1x […]
[…] A laptop or desktop computer A download of the Arduino IDE A power adapter for the Arduino Uno (see part 1 for guidance) 4x male to female dupont cables (1x red, 1x black, 1x yellow, 1x blue) 2x male to […]